Dashboard Packs
IT Security Controls Audit Dashboard
This dashboard gives a quick way to identify non-compliant controls for accounts with high privileges.
For each scoped applications you will see:
- Server controls (local Administrators)
- Application Controls (application level system admins)
- DB controls (Database level controls)
How do I import and configure this dashboard?
Ensure you're using SquaredUp DS v5.4 or above.
Already a SquaredUp customer?
Get the latest version of SquaredUp DS Standalone
New to SquaredUp?
- Create a PowerShell profile in SquaredUp DS with the following settings:
#Get AD Groups members $TeamADmin = Get-AdGroupMember -identity "Team1" | Select SamAccountName $TeamDEV = Get-AdGroupMember -identity "Team2" | Select SamAccountName $TeamERP = Get-AdGroupMember -identity "TeamERP" | Select SamAccountName #This is whre you can define the users or AD groups which are authorized to have high privileges rights $AuthorizedServerAdmins = @( "Domain\Account1" "Domain\Account2" "Domain\GroupName" "Domain\Domain Admins" "localAccount1" "localAccount2" ) $AuthorizedDBAdmins = @( "Domain\DBAGroup" "Domain\Account2" "Domain\GroupName" "localSQLAccount1" ) $AuthorizedAppsAdmins = @( "Domain\AppAdmins" "Domain\Account2" "ServiceAccount" ) #Option1 - Define list of controls servers $ScopeServers = @( "ComputerAppName1" "ComputerAppName2" "ComputerSQLName1" ) #Option2 - Create a SCOM Group to be scope! - if you are using SquaredUp for SCOM- From the top right hand menu ☰ click system.
- Go to the PowerShell tab.
- Click add new profile.
- Enter a name and a description for the new profile.
- Enter the profile script.
- Click add profile.
The profile is now saved and can be used in a PowerShell tile.
For more help creating a PowerShell profile see How to use the PowerShell tile
Download and import this dashboard pack.
- Download the dashboard pack zip file for the dashboard pack you wish to import.
There may be additional steps before or after the import to get the dashboard working in your environment.
- In DS Standalone go to the top right hand menu ☰ > Import Dashboard Packs and drag the zip file into the Manual Import box.
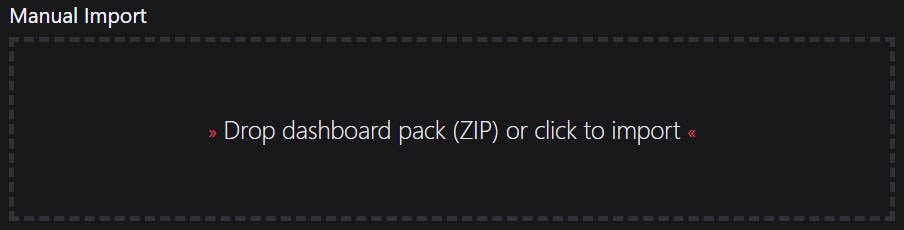
- The dashboard pack is imported and if the pack contains top-level dashboards, these will automatically appear in the navigation bar, usually in a folder called 'Community Dashboards' for dashboard packs from the SquaredUp Community.
- Carry out any additional steps required to make the dashboard work in your environment. These steps will be described on the download page for each dashboard. For example, you may need to create the correctly named Web API provider, create a PowerShell profile, or edit tile scopes.
- Edit the imported dashboard as required.
- Download the dashboard pack zip file for the dashboard pack you wish to import.
- Edit the PowerShell tiles.
For each tile check the PowerShell script and edit the$ServerInstanceand$DatabaseNameparameters according to your environment. Check the scripts for other parameters that need to be updated, for example DB connection strings, SQL queries to list Admins from an application, or the fields retrieved by your SQL query.- Edit the tiles by clicking the Edit button.
- Open the script panel.
- Edit the script according to your environment.
Publish the dashboard.
A newly created dashboard will not be visible to others until it is published.
Only admins can publish dashboards, unless you have been given author permissions to a Team Folder see Team Folders
If you made changes to an existing dashboard, the changes will only be visible to others after you published the dashboard again.
You can identify a dashboard that has not been published yet or has unpublished changes by the unpublished button at the top:

When you click on the unpublished button, you'll have two options:
- Publish will make the dashboard or changes visible to others.
Note: A newly created dashboard will appear on the menu where you created it. To move the dashboard to a different place on the navigation bar see How to edit the Navigation Bar. - Discard will delete your draft dashboard if it has never been published or, if you made changes to an already published dashboard, discard the changes.
Publishing dashboards to different audiences
Find out how to publish dashboards to a subset of users using Team Folders or visible to anyone even unlicensed users with Open Access (Sharing Dashboards with anyone - Open Access).
- Publish will make the dashboard or changes visible to others.
GET STARTED TODAY
Zero to dashboard hero in 60 seconds
Start now with hundreds of customizable dashboards.