Bruce Cullen
Director of Products, SquaredUp

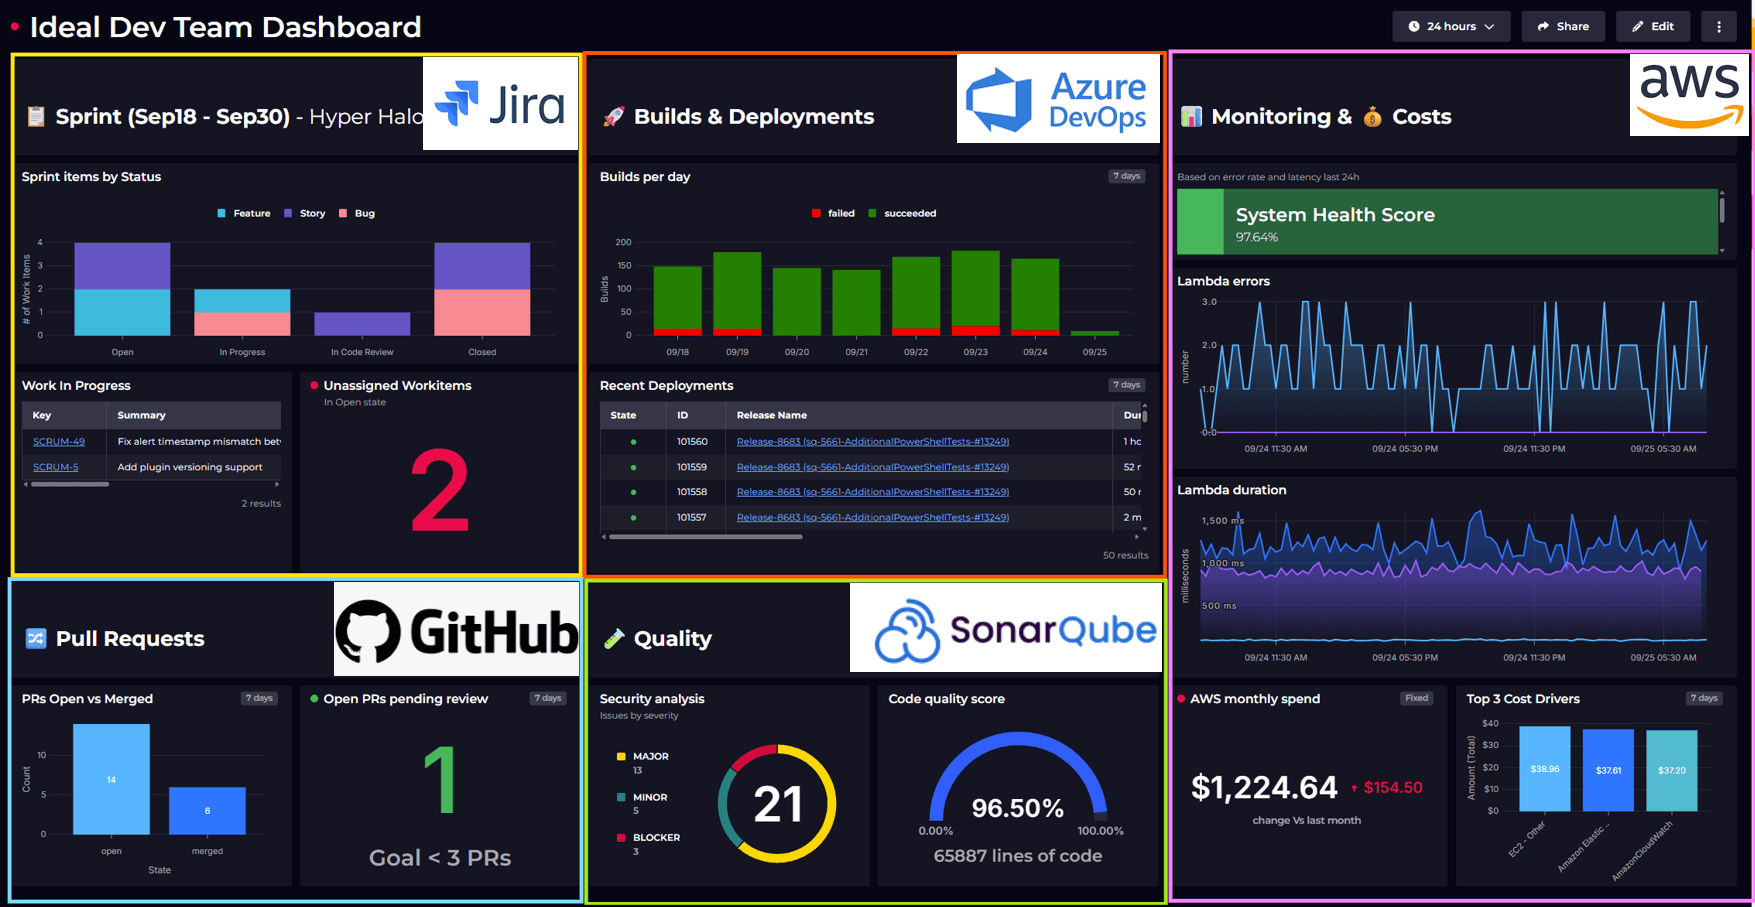
Like the look of this dashboard? Read on for a step-by-step guide on how to create it

I have been interested in sustainability in computing since before it was cool, and more broadly try and “tread lightly” on the earth, cycling my kids to school, taking the train over flying where possible and eating a low meat diet, so when I went to KubeCon Europe for the first time in April 2023 I was excited to see multiple sessions on sustainability!
The session titles where focused on calculating and reporting on energy usage and carbon emissions from K8s and the general state of green software and cloud native computing which at a high level are very interesting topics given I work for a dashboarding company and really wanted to pull carbon data together for our customers – what gets measured gets done.
The sessions themselves where either very detailed, focusing on the specific formulas you need to calculate how much power a specific process in a K8 cluster is using to calculate its energy usage over time and infer its carbon emissions, or very vague and focused on concepts like focusing on computing sustainability aims. After a number of these sessions I approached the speakers to see if anyone knew of either:
At the time the answers where clear, 1 and 2 where fundamentally missing and those leading the special interest groups in the area mentioned such APIs and docs where being worked on but with no clear scope or timeframe and when digging into 3 there where several vendors that would give you approximate carbon emissions based on your Azure/AWS bills. While I get the logic, this approach looks fairly crude to me, while there is an obvious correlation between cost and energy consumption there are many other reasons why $10 of compute may vary wildly in terms of energy used and carbon emitted (region a’s resources maybe largely solar powered while region b’s might be draw power from coal fired power plants for example).
Fast forward a year, and I was pleasantly surprised when I saw a customer dashboard talk of carbon emissions, when digging a little deeper I found it wasn’t powered by a “fuzzy logic” cost based carbon approximation tool, but a fully fledged Carbon API that Microsoft had just released!
In February of this year, Microsoft quietly released a new set of APIs that allow you to pull carbon emissions data for your Azure compute and infrastructure usage Export Azure carbon optimization emissions data (Preview) | Microsoft Learn. AWS and Googe released similar APIs at around the same time – amazing progress and great to see what a difference a year makes!
For starters, if you are in the EU there is legislation to get companies to start reporting on its emissions as part of the Corporate Sustainability Reporting Directive (CSRD) which began coming into effect from Feb 2024, more info here. In the tech sector more and more companies are placing a focus on sustainability, going beyond simply emissions, and rightly so, for a number of reasons ranging from image, to understanding that we leave this world to our children and are responsible for the state we leave it in! At SquaredUp we are working towards B-corp certification which includes emissions, a fact that I am personally proud of!. I have had conversations with large oil and gas companies who want to truly clean up their act and have looked to start this with their IT and software (now you could argue that this is a miniscule part of the impact of an oil and gas company on the planet and while I would hope understanding the state of their infrastructure’s impact is a small part of their plans I will take it as a step in the right direction).
Ultimately in my eyes it comes down to one of the mantras that has served me well in running software engineering teams over the years “what gets measured gets done” and I believe it is worth “doing” in this area.
First, we need to connect SquaredUp to the Azure carbon APIs. It is a process that is fairly similar to any other Azure management API, so if you're familiar with these APIs it should be straightforward. I've outlined step by step instructions for connecting SquaredUp to the Azure carbon APIs at the bottom of the blog for when you're ready to get going.
Let's look at how to build the dashboard. Follow these steps once you're ready! In true demo style, here is an Azure carbon emissions dashboard I built earlier.
There are several endpoints which I have used in creating it, all are documented well enough by Microsoft: Export Azure carbon optimization emissions data (Preview) | Microsoft Learn, I also use carbon equivalent data from here (which is the location Microsoft themselves use in their native Azure Portal Carbon Optimizer tool); Greenhouse Gas Equivalencies Calculator | US EPA
For most of the tiles, SQL analytics is used to calculate the carbon equivalent by multiplying the total carbon emissions by the number of equivalent items per kgCO2e (EG 1 kgCO2e is emitted by consumption of 4 cheese burgers):

API wise at a high level I am using the carbonEmissionsReports endpoint for all my tiles, with a different “reportType” specified in the body of each tile’s POST JSON. All the report types I use require you to provide:
"dateRange": {
	"start": "2023-01-01",
	"end": "2023-12-31"
}"carbonScopeList": [
"Scope1",
"Scope2",
"Scope3"
]"subscriptionList": [
"<ID 1>",
"<ID 2>"
]Gives you a single carbon emissions figure based on its configuration, takes as input a date range for start/end accepting 1st of month dates only (EG 01-01-2024). Used for a large number of tiles on the dashboard:

Provides a single data point for each month for the total carbon emitted. Used in the Emissions Over Tile tile:

Provides a list of carbon emissions for a given timeframe for a specific category (EG ServiceType, Resource, ResourceGroup) allowing me to show what type of resources we emitted the most carbon from using (EG VMs). Used for all the “top n” tiles at the bottom of the dashboard:

As noted above this report type is used for the carbon equivalents tiles at the top of the dashboard. I am pulling the carbon data for this/last month changing the date range as needed, then using the SQL analytics feature of SquaredUp to multiply out the carbon emitted by the equivalent number of items (EG number of phone charges). The tile config is as follows
{
"reportType": "OverallSummaryReport",
"subscriptionList": [
"<ID 1>",
"<ID 2>"
],
"carbonScopeList": [
	"Scope1",
	"Scope2",
	"Scope3"
],
"dateRange": {
"start": "2023-01-01",
"end": "2023-12-31"
}
}SELECT ROUND(totalCarbonEmission * <number of eqivilent items, EG 4 cheese burgers per kgCO2e>) AS multipliedCarbonEmission
FROM TotalCarbon;This report type is used for the “Emissions Over Time” tile in the middle of the dashboard. I am pulling the carbon data for a number of months changing the date range as needed, then using the SQL analytics feature of SquaredUp to multiply out the carbon emitted by the equivalent number of items (EG number of phone charges). The tile config is as follows:
{
"reportType": "MonthlySummaryReport",
"subscriptionList": [
	"<ID 1>",
	"<ID 2>"
],
"carbonScopeList": [
"Scope1",
"Scope2",
"Scope3"
],
"dateRange": {
"start": "2023-01-01",
"end": "2023-12-31"
}
}This report type is used for the “Top n” tiles at the bottom of the dashboard. I am pulling the carbon data for a single month. I use the tile editor’s shaping panel to specify how many items to display (EG top 5) and in one cases (the “Top 5 by Service Type month on month” tile) I use SQL Analytics to shape the data so it can be displayed in stacked bar form. The tile config is as follows:
{
"reportType": "TopItemsSummaryReport",
"categoryType": "ServiceType",
"topItems": 5,
"subscriptionList": [
"ID1",
"ID2"
],
"carbonScopeList": [
"Scope1",
"Scope2",
"Scope3"
],
"dateRange": {
"start": "2024-01-01",
"end": "2024-01-01"
}
}SELECT
itemName,
totalCarbonEmission AS [value],
"This Month" AS [series]
FROM dataset1
UNION
SELECT
itemName,
totalCarbonEmissionLastMonth AS [value],
"Last Month" AS [series]
FROM dataset1Now comes the hard part – actually taking the actions to reduce your carbon emissions. But what gets measured is easier to get done, so by visualizing your emissions you are a step further on your journey.
If you need help connecting to the Azure carbon APIs, here's my step by step guide as promised above.
In the Azure Portal you first need to create an App Registration following these simple steps.
1. Create a new App Registration giving it a sensible name and granting a sensible list of “supported application types”, if in doubt accept the default

2. Copy out the Application (client) ID as you will need them later

3. Grant Azure Service Management User Impersonation permissions

4. Grant admin consent for your tenant

5. When permissions are granted you will get a green tick in the Status column, if you get an error or the button is greyed out, the most likely cause will be because you don’t have permissions to grant consent – go speak to someone with greater permissions than you have.

6. Create a Client Secret from the Certificates & secrets tab and copy the “value” – this will only be copyable one time so save it somewhere (or just create a new client secret)

7. In Authentication “Add a Platform” choose Web and past in this URL https://app.squaredup.com/settings/pluginsoauth2 then tick bock Access Token and ID tokens as the types of token to be issued by the auth endpoint

8. Now browse to the Management Group/Subscription you wish to be able to visualize the carbon emissions for and grant the “Carbon Optimization Reader” role to the App Registration. To do this browse to the Management Group/Subscription, click Access control (IAM)

9. Click Add > Add role-assignment then search for the Carbon Optimization Reader role

10. Click the Members tab and assign the role to the Service Principal (SPN) you created earlier (the App Registration is an SPN) then save your changes

11. Click the overview tab and copy out the ID of the Management Group/Subscription – you will need it later.
The Azure focused part of the setup is now complete. Now for the SquaredUp bit.
{
	"reportType": "MonthlySummaryReport",
	"subscriptionList": [
		"<ID 1>",
		"<ID 2>"
	],
	"carbonScopeList": [
		"Scope1",
		"Scope2",
		"Scope3"
	],
	"dateRange": {
		"start": "2023-01-01",
		"end": "2023-12-31"
	}
}Note you will need to add the ID(s) of the Subscriptions you plan to test pulling emissions data from. Wrap each ID in double quotes and separate multiple IDs with a comma.
If you get some JSON (rather than an error) back in the return, you have configured everything successfully. Hooray!
Director of Products, SquaredUp

Getting started with SquaredUp is free and easy. Our free tier includes: