Sameer Mhaisekar
DevRel Engineer, SquaredUp & Microsoft MVP


Join me on my Azure Monitor journey as I learn all there is to know about the platform. Check out my series introductionfor a brief overview and a bit about me (tl;dr former SCOM admin, avid tech blogger, SquaredUp tech evangelist).
In the last couple of posts we covered the various ways of connecting data sources to Azure Monitor Logs (Part 2: Getting Started, Part 3: Solutions), so by now we should have loads of data to play around with. The data we’ve collected so far is largely just a blob, and probably not very useful at this point. “Solutions” help with this, but the real fun part starts now: making sense of the data you have using the Kusto Query Language – better known as KQL. If you’ve heard of something called the “Log Analytics Query Language”, it’s the same thing. Microsoft just likes to keep inventing different names every once in a while.
Quick disclaimer though – this article is not intended to be the textbook for mastering KQL, but at the same time we won’t assume you have a working knowledge of it. This is more of a practical guide to making basic use of your Logs data with KQL, rather than a “what is KQL and how do I master it”.
If you’re completely new to KQL, I’d recommend you come back to this article after reading this one:
A jumpstart guide to using KQL
Once you’ve got the basics down, check out this more advanced guide:
Aggregating and Visualizing Data with KQL
You can also learn the language in-depth using different sources online. I personally found this Pluralsight course super useful:
Plural Sight – KQL from scratch
And there’s also Microsoft’s own learning resources:
Microsoft – Learning KQL
Alright, back to the task at hand! Let’s jump into the Azure portal and see what’s good.

Now to start firing your KQL guns, you have a couple of ways to dive in.
1. Start directly from the Log Analytics workspace you’ve created in part 2 of the series, like so:

OR
2. If you have multiple workspaces and might want to switch around between them, start from Azure Monitor and select Logs, like so:

If you do it this way, make sure you’ve selected the right Log Analytics workspace in the scope as highlighted above in the red box.
Great, now that we’ve located where to write the queries, let’s move on to how to write and run them.
As you may have noticed, there’s a lot of help available right on the canvas to assist you with writing queries. In fact, you can run your first few queries without knowing how to write them at all! Let’s talk about the choices we have.

Note the numbers I’ve labelled the red boxes with.
1(a) – This is where you can select from some pre-written generic queries. As you’ve noticed, these are classified by their purposes. E.g. Computer availability queries contain queries related to heartbeats, availability status, etc. In this section you can also see the queries you’ve previously run, under the “History” tab.
1(b) – This is the query explorer, where you have a wider repository of pre-written queries that you may run directly.
2 – This is the query builder, the space where the queries are written. You can have multiple of these open side-by-side in different tabs. You can also change the time range of the data you’re running the queries against.
Let’s start with running some of the pre-written queries to see how they work.
If you click on the ‘query explorer’ button and expand the sections underneath, you can see an extensive list of pre-written queries available to run:

I ran the “What data is being collected?” query from the samples and sure enough, I got the following output:

Awesome! Let’s try a couple more.
1. The query for memory and CPU Usage:

This query outputs data points from the last hour for the % processor time counter, which can be rendered as a graph. This query has automatically done it for me thanks to the ‘render timechart’ operator. Cool!
2. The query to fetch the availability status of all my connected computers:

Easier than you thought, right? ?
Once you get familiar with the logic of writing KQL queries on your own, you can do magic far more fascinating than this. You can choose a specific time range, choose to chart the data with different visualizations, add/modify filters, and much more. You will notice that the query builder is IntelliSense-assisted – which means that even if you’re not a very experienced or clean coder, the builder will help you with writing clean queries.

You’ll notice on the left of the query builder space you have “Tables” – these are basically the different databases you’re collecting in that particular workspace, and they contain the data that you can query on. So depending on what data you’re collecting in that workspace, there’ll be more/fewer/different tables. Each table also has a set of properties that you can use to narrow down your result and get only the focused, relevant results.
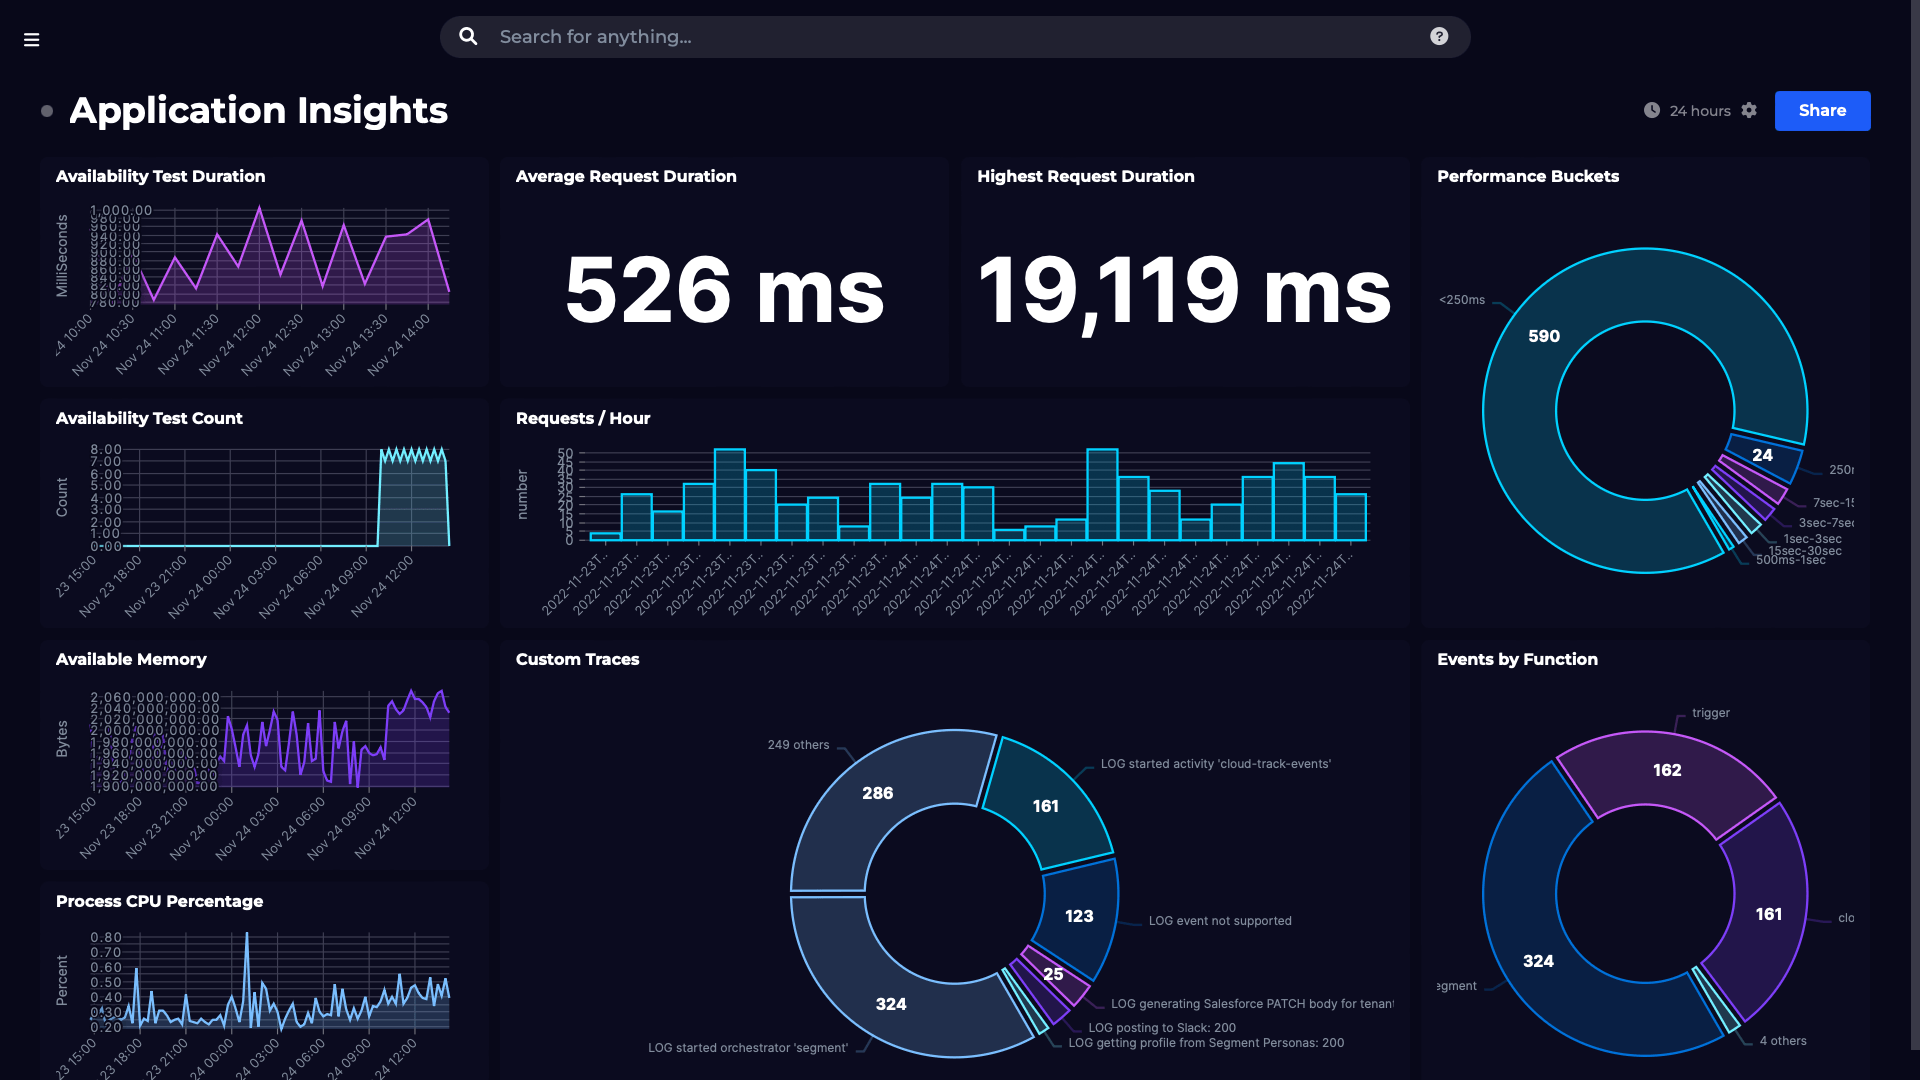
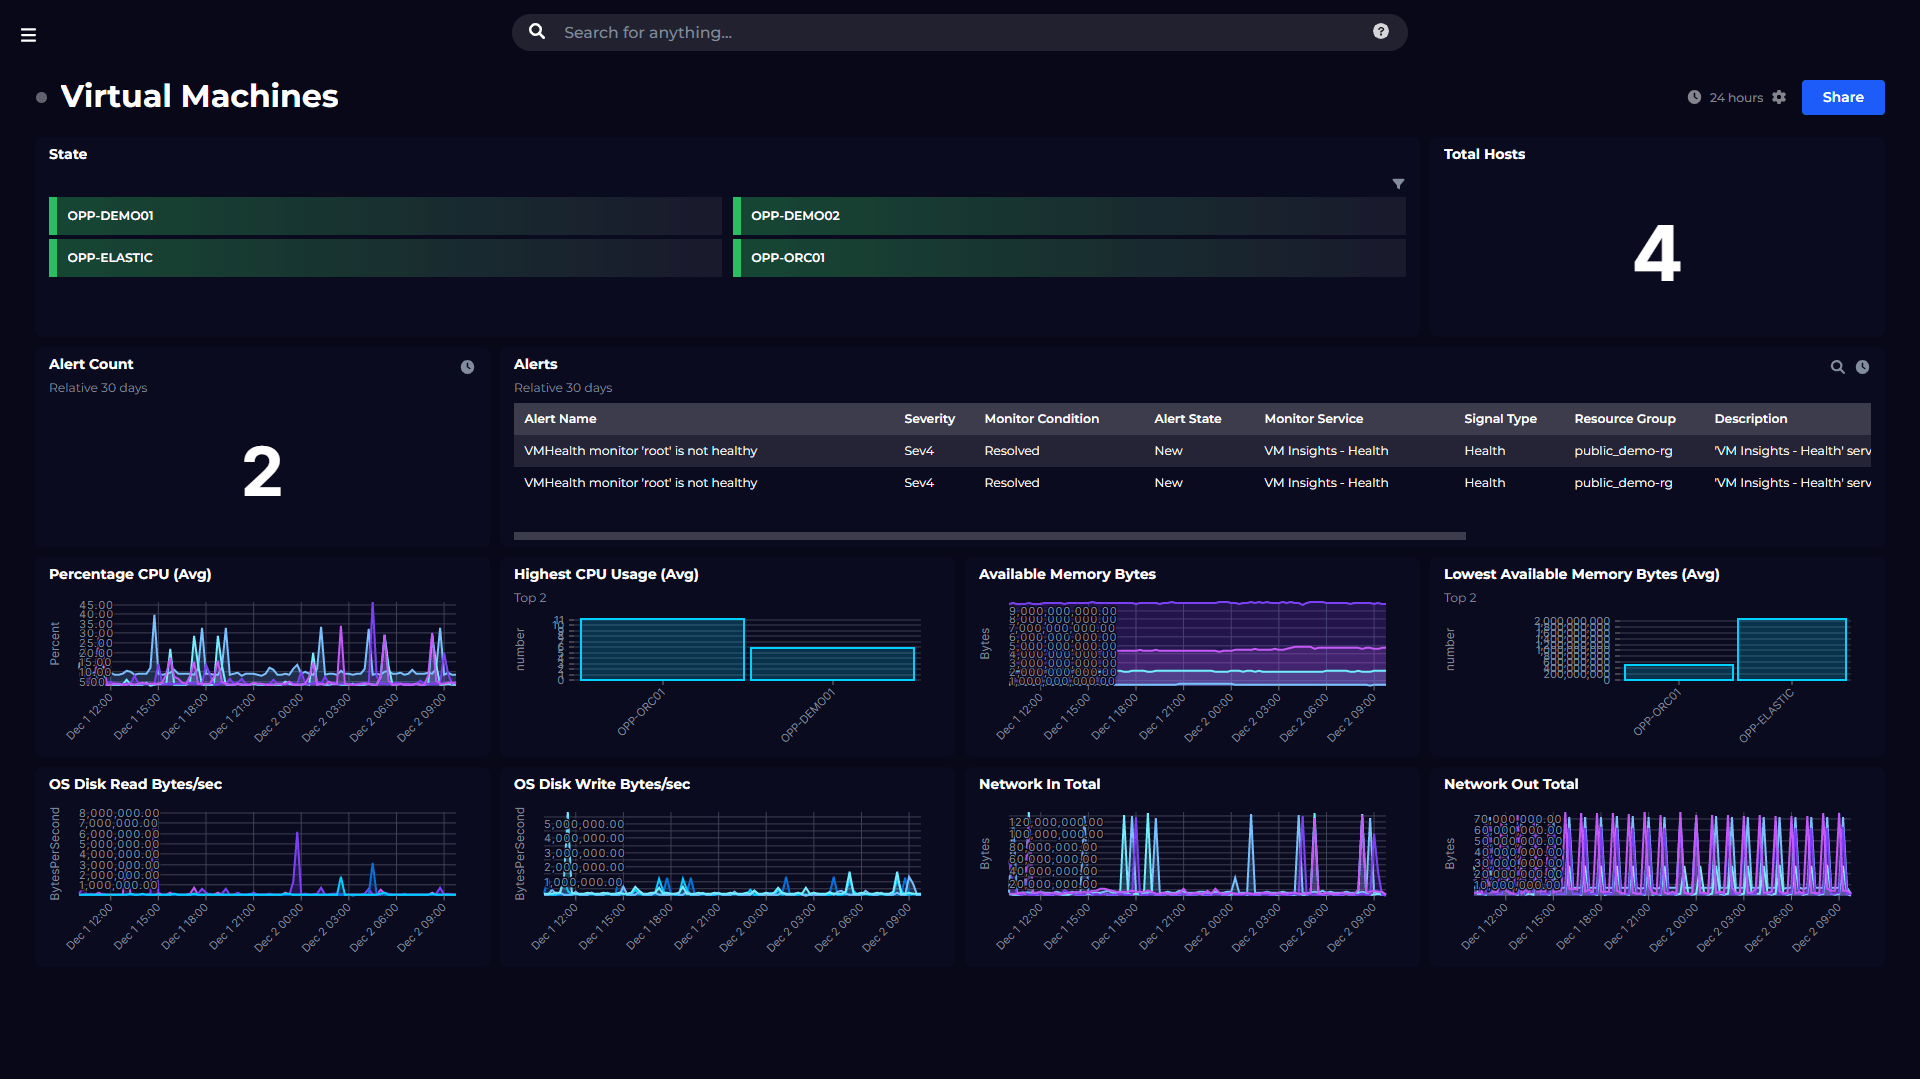
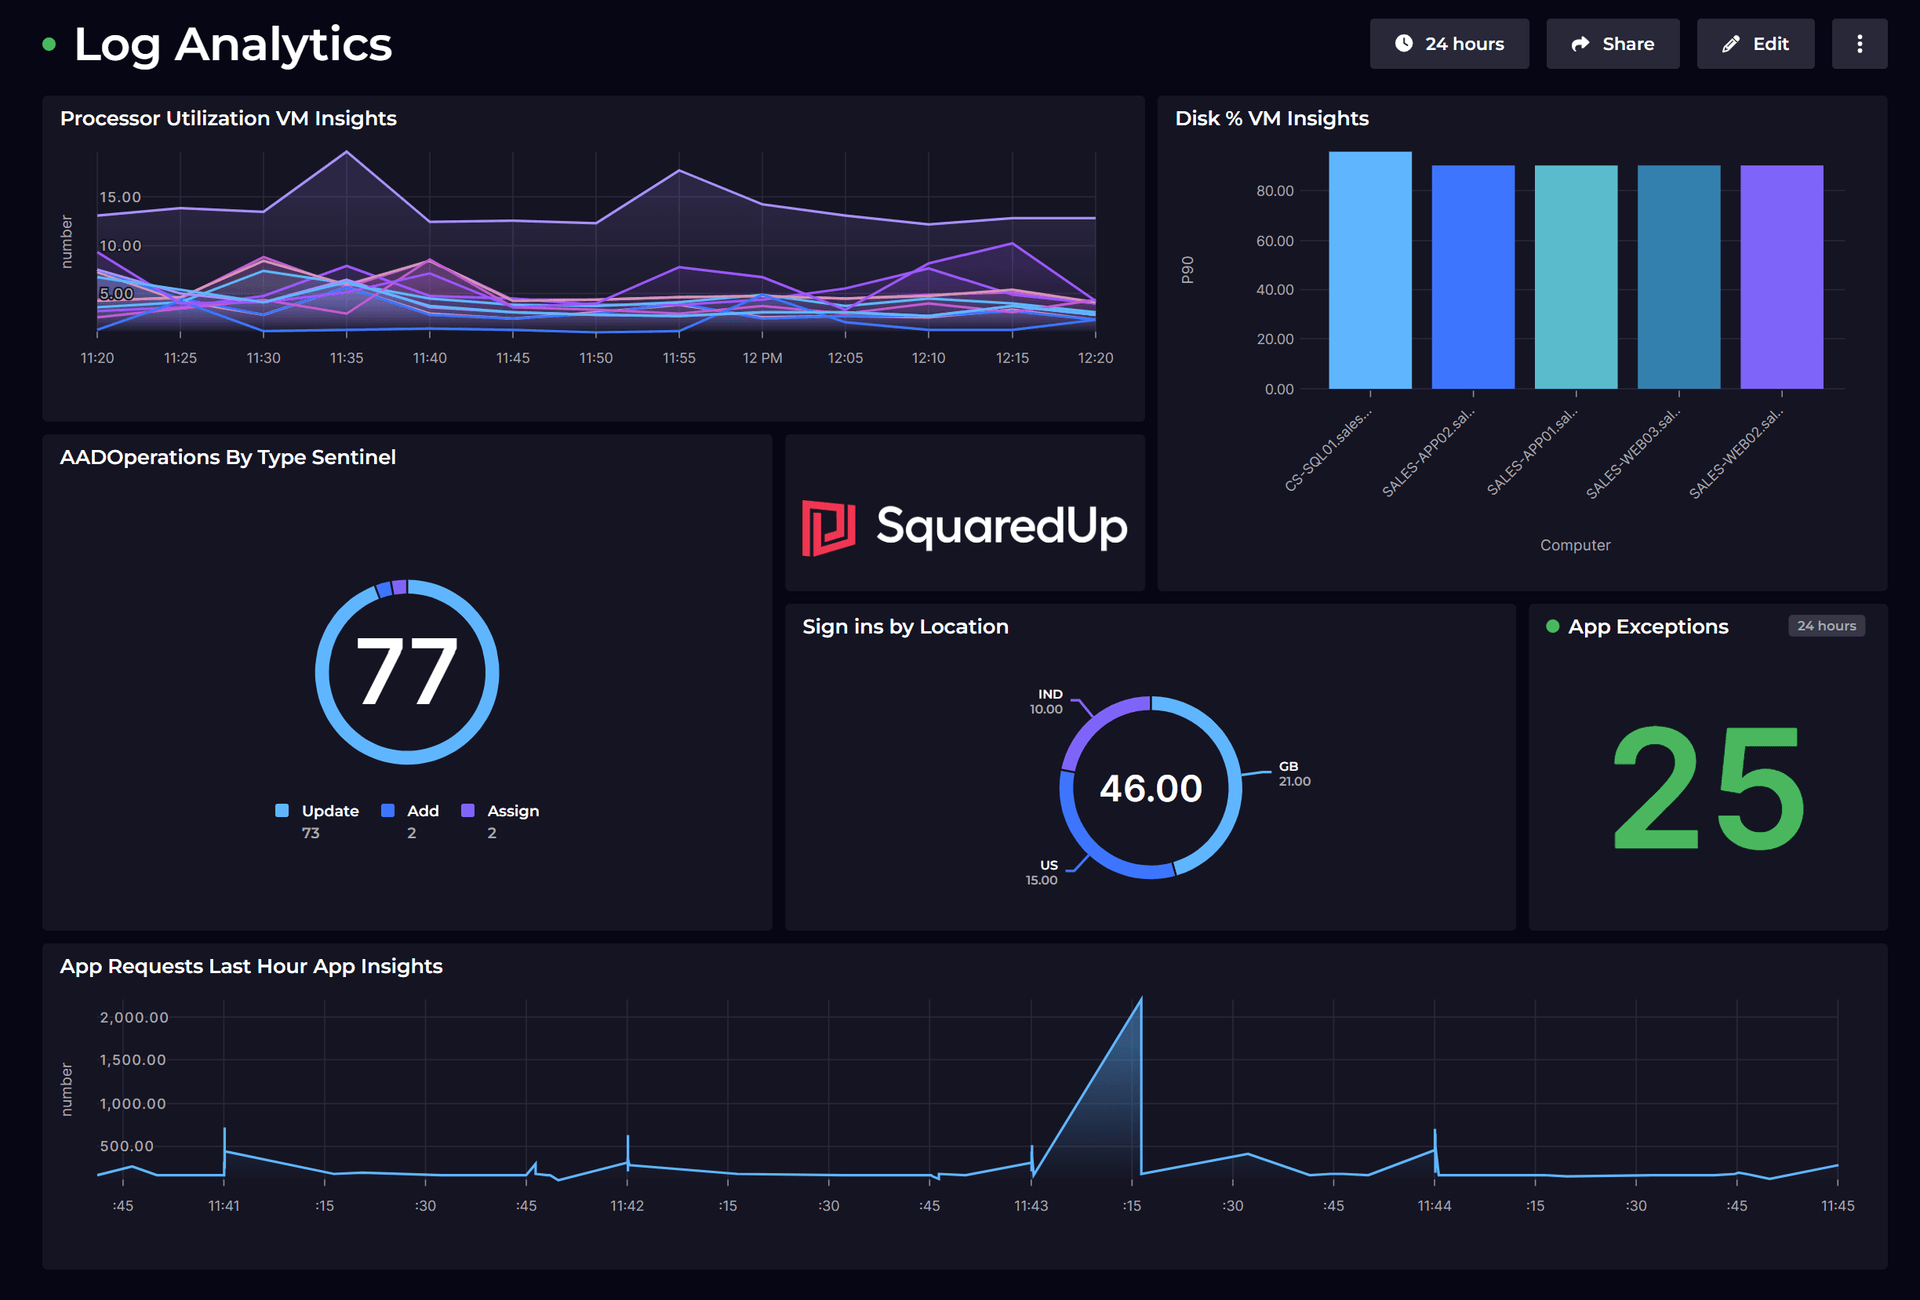
Once you’ve tried a few queries and start to get the hang of writing your own, you can start to do some really powerful stuff. As well as just returning data from your tables, Log Analytics enables you to perform massive and complex data transformations to turn your raw data into something meaningful. As long as you’ve got the right data coming in, you can achieve big things with a bit of KQL effort. Later in the series we’ll cover one of the best uses of a well-written query… to power all sorts of visualizations and reports that you can use on your dashboards.
That’s it for today though. I hope you were able to get a basic understanding of how you can retrieve the data you’ve collected in your workspace and how you can begin to transform it into the results you need. I wish you luck with becoming a KQL Rockstar! Once you've got the hang of this, don't forget to check out our guide to Aggregating and Visualizing Data with KQL.
Tune in next week to learn how to visualize all this juicy Log Analytics data.
We’ll discuss a new topic each week, so stay tuned. Drop your email address in the box below to get notified with each new post, or join our dedicated Slack channel to be a part of the discussion.
Next chapter: Visualizing Log Analytics data
DevRel Engineer, SquaredUp & Microsoft MVP


Getting started with SquaredUp is free and easy. Our free tier includes: